How does an idea like this get started?
Jill likes birds and wanted to fill our front yard with plants that attract and feed birds. Blueberry bushes were a significant choice. She wanted them randomly placed. Random set me onto the math of such a system. Our friend Carol mentioned that she had designed and built a labyrinth for the Delaware Art Museum, and things started to fall together.
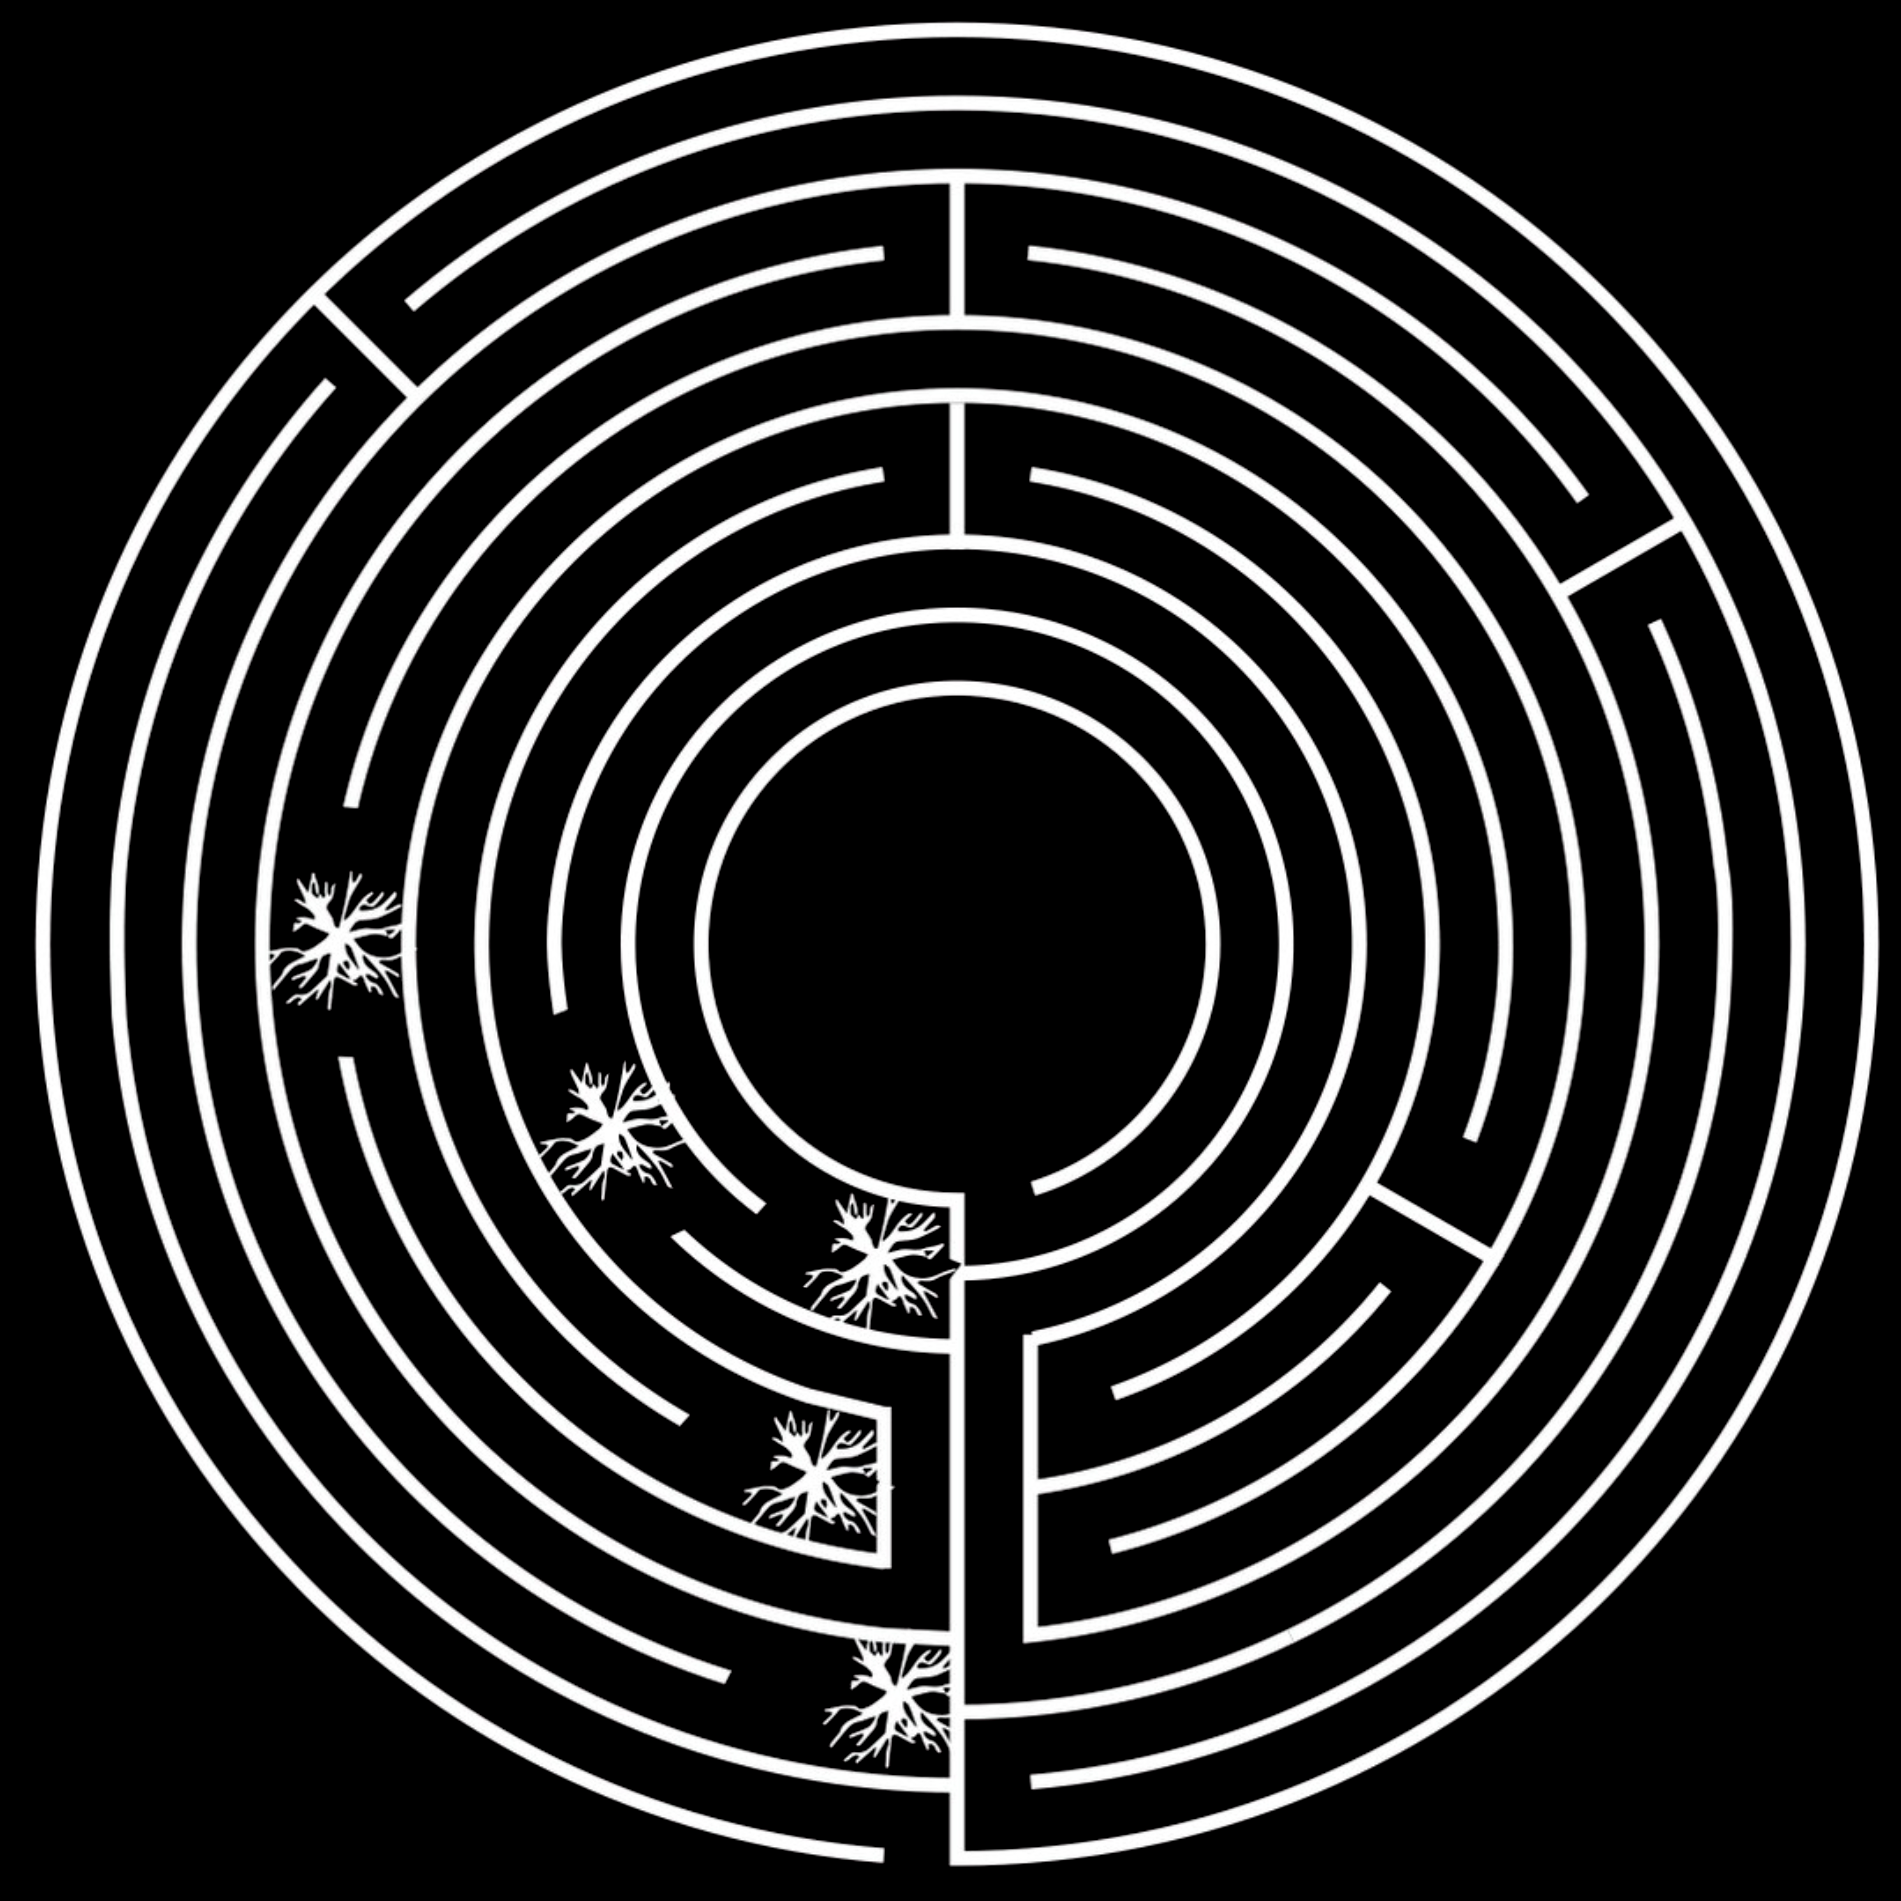
Most labyrinths have a symmetrical structure with the circle divided into quarters, which position the turnarounds required to make the walking path work. Hmmm. Random turnarounds, and we were off to the races. Here is our first drawing showing the general idea.
We’ve finally spray painted our idea for a labyrinth in our front yard. The labyrinth kept getting bigger and bigger as we adjusted the number of the circuits and their width to accommodate our electric lawn mower (22” wide + an additional 1.5” on each side). The idea is only to mow the walking area and let the outlines grow reasonably wild. We didn’t want to make it too small. We found out this weekend that the University of Delaware had one, so we tried that one out. We think ours will feel less like you just bought one and way more hand-made.
We settled on outlining the circuits with 3” concrete half-spheres spaced 6” apart. A new element to making the dots (and we ordered an additional 40 molds so we can make 72 at a time) is that we are just going to insert a nail before they dry, which we hope will keep them pretty well locked in place when the ground freezes and thaws. We will let the grass grow around the dots, which we figure we may have to weed wack a bit to keep things from going too wild.
Our first calculations list the number of concrete dots required at around 1,700. While that seemed reasonable, when we started actually making the dots, 1,700 turned out to be a pretty large number.
We want to letterpress a small chapbook that people can take that explains the history of labyrinths and our motive for wanting to build one.
We have to dig up that ground cover to the lower left.
⬆ Photo above shows the silicon “pinch bowls” we bought at THE CONTAINER STORE. each will provide a half-sphere that we refer to as “dots.” These will outline the circuits.
⬇ Photo below shows the bowls after they’ve been filled with concrete and with a heavily galvanized 3D nail set in the center of the bottom. The nail should help keep the dots in position with rain and freezing ground.
Here is a short video of us pouring the concrete dots.
And a video showing the adding in the nails after about 30 minutes to let the quick-dry concrete set up a bit.
A timelapse video of us placing dots on the labyrinth.
Then, we wanted to move that 1,230-pound rock to the labyrinth’s center. We thought some walkers, having gotten halfway through, might want to sit and think about things, so we were happy to oblige.
To start the process, Ray and Jill levered the rock onto two 12’ 4x4s
Then, Ray and their 12-year-old granddaughter moved the rock, the first leg of the 35” path, to the labyrinth’s center.
You might ask why we didn’t just get somebody with a tractor to move it for us. So, let’s do the math. Is it more fun to pay someone you don’t know $250 to bring a machine over, pick the rock up, and set it perfectly vented in the middle of a 6’ circle or move it yourself with your wife and granddaughter? 2 + 2 = 4. Easy peasy.
Below is a timelapse of Jill and me moving the rock to the center. It requires more effort to get it centered and rotate the desired amount. We used metal pipes, the material of choice when moving letterpress equipment. Done! Now, we need to determine the exact placement of all the turnarounds and plant the blueberry bushes we bought.
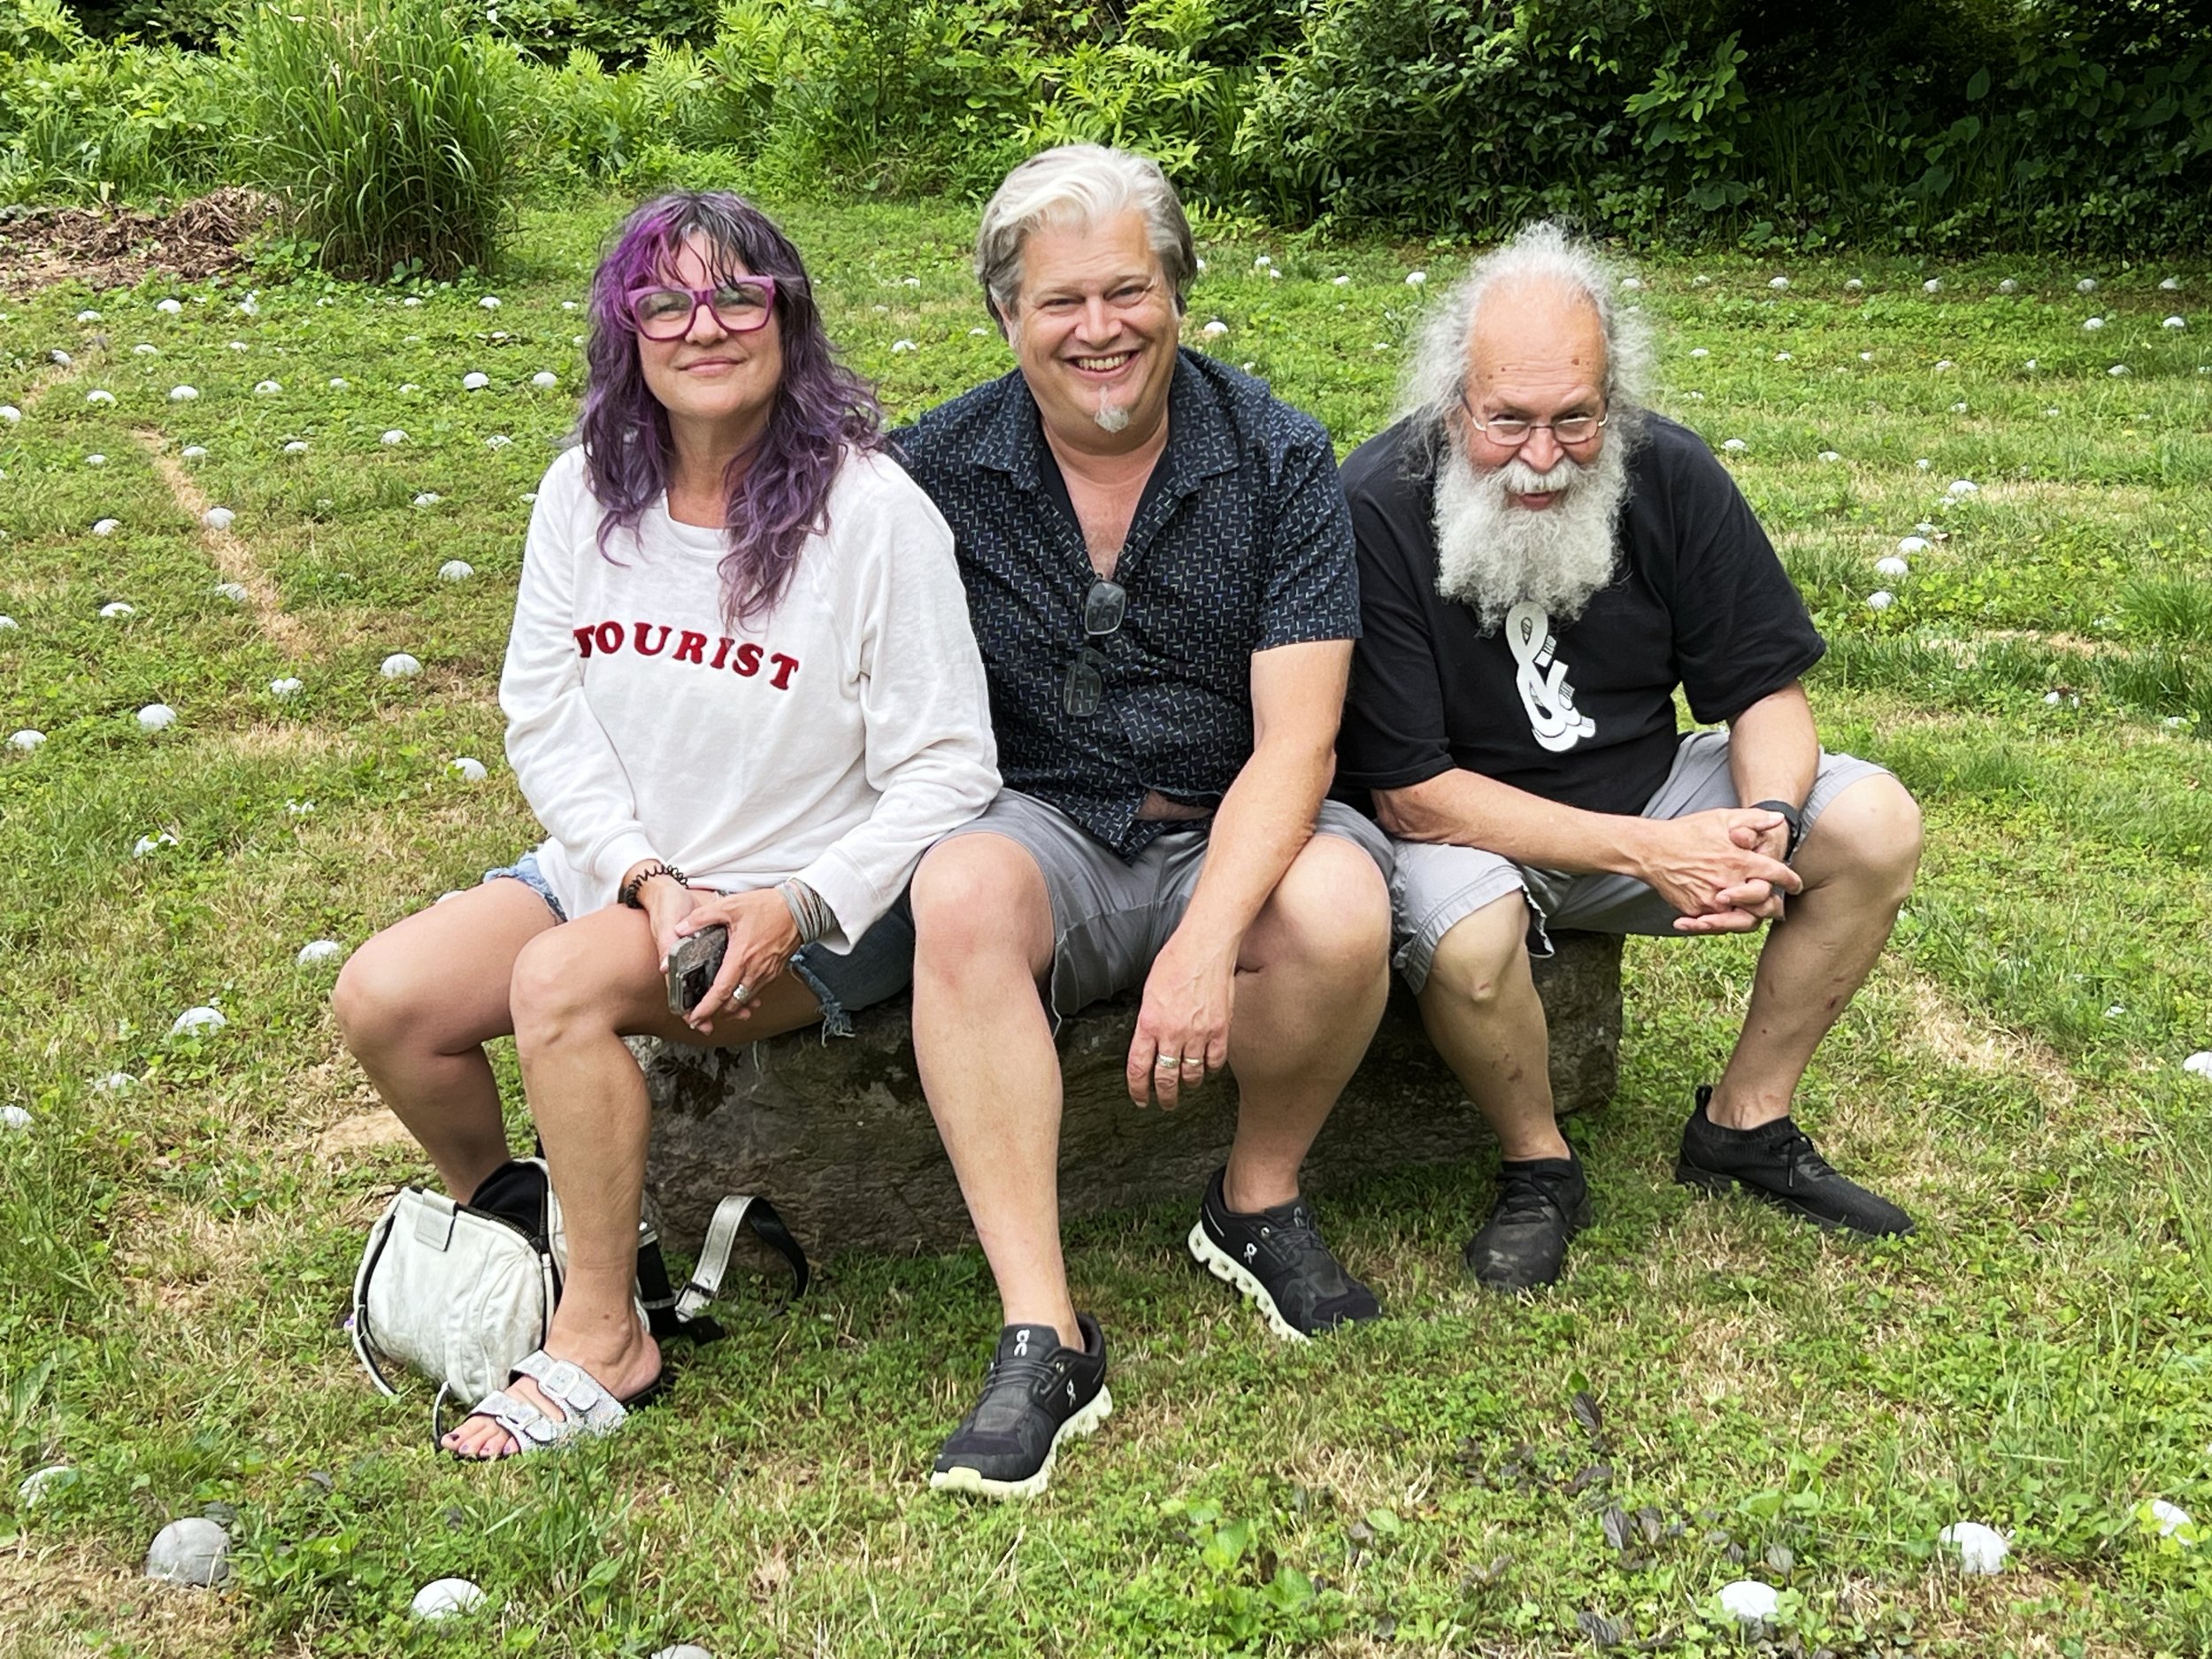
And an impromptu VC’88 class reunion at the rock. Left to right: Terre Nichols, Andy Geroski, and Ray Nichols.
The photo below shows the first 5 blueberry bushes that were planted at the points where the “walker” made either a 90° or 180° turn.


